
Additive Manufacturing:
The flaw types, the consequences of leaving them undetected, and the NDT solution you’ve been looking for.
Topics
Additive Manufacturing Flaw Types and Flaw Detection
Industry Applications
Aerospace, Defence, Motorsport, Automotive, Oil and Gas, Medical, Power Generation, Renewables, Research Institutes.
Industry Applications
From medical implants to spaceflight components, ensuring the integrity and reliability of additive-manufactured parts is not just important but urgent, particularly in safety-critical applications where failure can have catastrophic consequences. Immediate action is essential to prevent potential disasters and safeguard lives, making it imperative to address part inspection issues with the highest priority.
Additive Manufacturing: The types of flaws, the consequences of leaving them undetected, and the NDT solution you’ve been looking for.
As additive manufacturing (AM) technology continues to evolve, it is increasingly being adopted across a variety of industries due to its ability to produce complex, high-precision parts. From medical implants to aerospace components, the potential of AM to revolutionise manufacturing processes is significant. However, alongside these advancements comes the critical need to ensure the integrity and reliability of the parts produced. This is particularly important in safety-critical applications where failure can have severe consequences.
The Rise of Additive Manufacturing
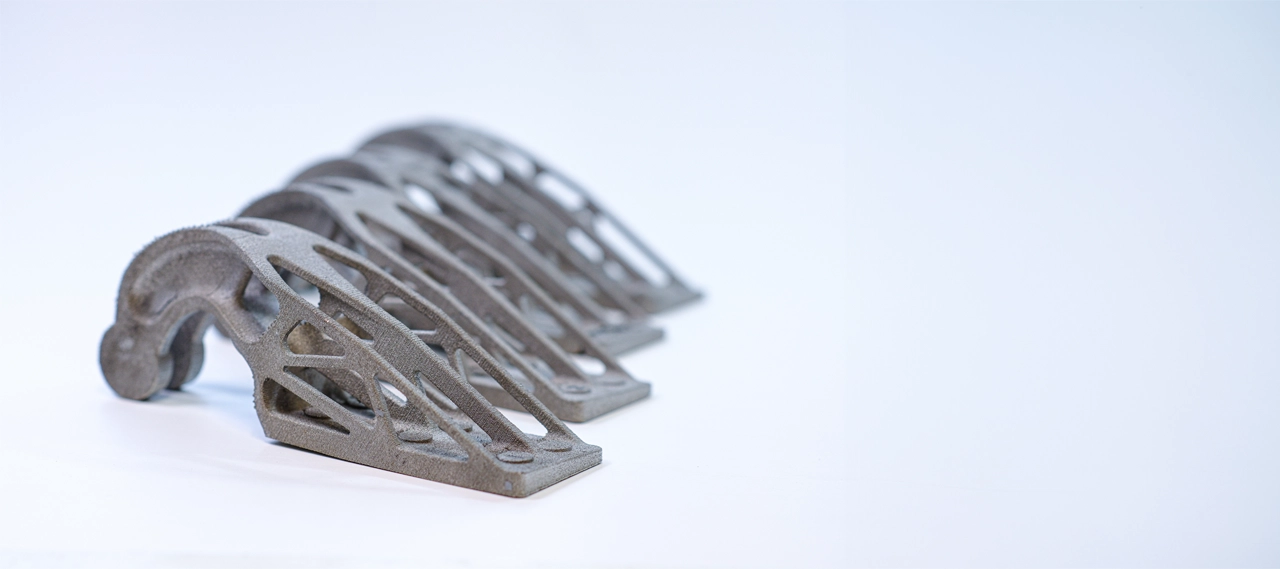
Additive manufacturing, particularly using techniques such as Laser Powder Bed Fusion (L-PBF) has found applications in numerous sectors due to its incredible versatility and precision. In the medical field, personalised implants are becoming common practice, offering customised solutions for optimal patient care. The automotive and aerospace industries are also capitalising on the advantages of metal L-PBF components, which allow for lightweight, durable, and complex designs that are difficult to achieve with traditional manufacturing methods. These modern designs provide cost savings through reduced numbers of parts in assemblies, simpler production processes and a streamlined supply chain.
Furthermore, industries such as dentistry and jewellery are utilising AM for the fabrication of directly printed components with microscale resolution. The energy sector, including oil and gas and power generation), and motorsport, is exploring the use of AM for engineering devices, tools, and sensors like heat exchangers and heat sinks. The ability to create customised functional products is opening a wide range of engineering applications for AM technology.
The critical importance of detecting flaws
Despite its many advantages, AM is not immune to all the issues that plague traditional manufacturing methods. Defects or flaws in AM parts can significantly impact the mechanical properties and overall performance of the final product. As a result, it is essential to continually refine AM processes and implement robust inspection methods to minimise defects and ensure the reliability of produced parts. But effective inspection with the goal of identifying the most common flaws within AM components has proven to be far from straight-forward.
Common types of flaws in additive-manufactured parts
- Trapped Powder
Trapped powder is a unique and potentially significant issue within AM components, especially those with intricate air channels or ducts. For example, trapped powder in a cooling duct of a heat exchanger can lead to blockages, impeding airflow and rendering the component ineffective. In critical applications like automotive engines or aircraft systems, this can increase the risk of overheating and overall system failure.
- Lack of Fusion
Lack of fusion defects, typically found within additive manufactured components produced via laser powder bed fusion can occur among the layers during printing. Put simply, the individual layers haven’t fused together during the print process, creating potential areas of weakness or crack initiation sites. This defect can prove detrimental to the overall mechanical properties of your additive-manufactured component, and indeed the structure’s integrity, making it vulnerable to failure particularly if used for an application prone to intense vibrations or impact.
- Porosity
Porosity refers to small, often microscopic voids within the material. In pressure vessels used in the oil and gas, or chemical storage industries, porosity can create weak points in the structure, increasing the risk of catastrophic failure.
In addition to internal porosity, if this is present on a sealing surface of a component, it can prevent proper sealing, leading to leaks and potentially dangerous situations.
- Surface Cracks
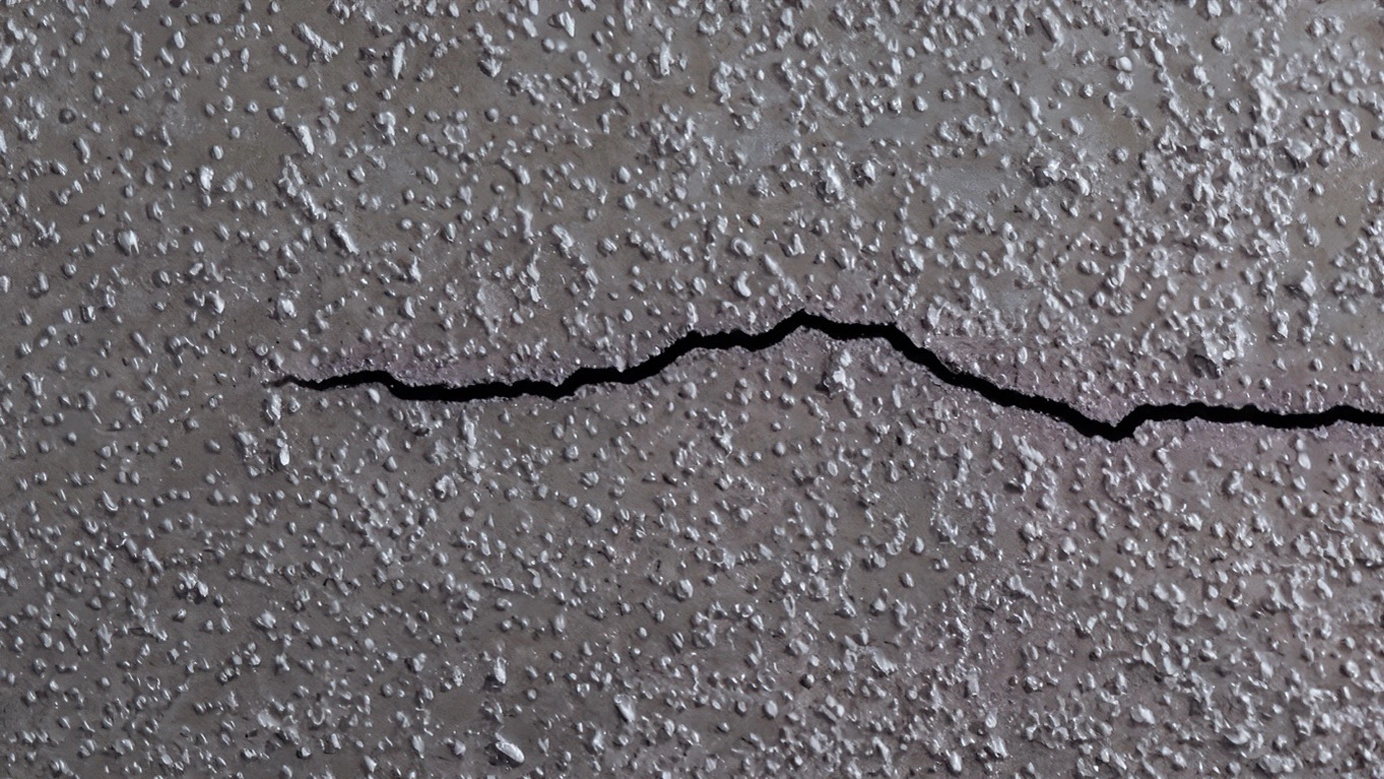
Surface cracks are fractures that appear on the exterior of a component. In applications involving cyclic loading, such as turbine blades or engine components, surface cracks can lead to fatigue failure. Over time, these cracks propagate and grow, eventually causing the part to break. In a heat exchanger, surface cracks in the core can compromise the integrity of cooling channels, leading to insufficient heat dissipation and overheating.
- Volumetric Cracks
Volumetric cracks are internal cracks that are not visible on the surface. These cracks require loading and repeated stress to expand, but if left undetected, they pose a high risk of part failure. For example, in critical aerospace components, hidden volumetric cracks can lead to sudden and catastrophic failure under operational stresses. In aero engine and turbine blades, volumetric cracks can also be creep initiation sites that, under thermal cycling inherent in the application weaken the blade without any visible sign until failure occurs.
- Voids
Voids are spherical pores within the material that create areas of weakness. Components with voids are more susceptible to failure under pressure or mechanical stress as the local area is mechanically less stiff. In safety-critical applications like medical implants or structural aerospace parts, the presence of voids can compromise the part’s strength and reliability.
- Delamination
Delamination occurs when layers within a component separate, creating weak points. This is particularly concerning for metal AM parts subjected to tension. For instance, in a tensioned fixture that is bolted at both ends, delamination can lead to a failure of the connection, compromising the overall structural integrity.
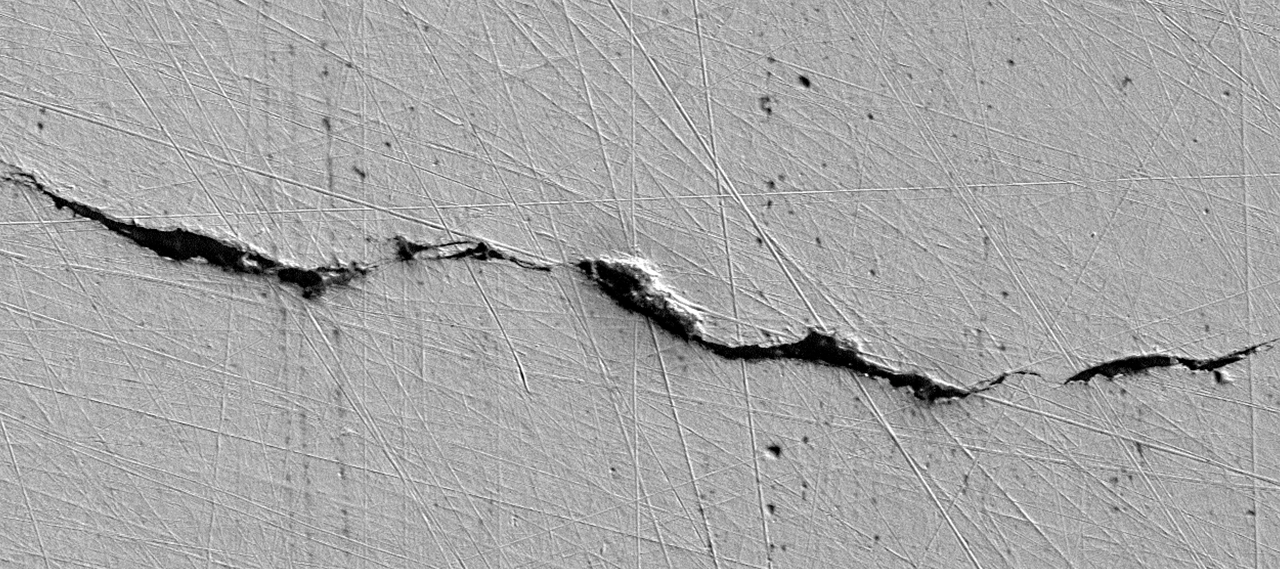
An SEM image of a crack in an ASTM coupon.
The consequences of leaving flaws undetected
It goes without saying that failing to identify and address flaws within additive manufactured parts can have severe consequences, especially when manufacturing for safety-critical applications. If effective procedures for flaw identification are not used, undetected defects can lead to:
Catastrophic Failure:
In aerospace or automotive applications, a failure due to a hidden defect can result in accidents, endangering lives and causing significant financial losses.
Reduced Lifespan:
Flaws such as porosity or cracks can shorten the lifespan of components, leading to premature failure and the need for costly replacements.
Operational Inefficiency:
Defective parts can cause systems to operate inefficiently, increasing energy consumption and operational costs.
Safety Hazards:
In medical or power generation applications, defects can pose serious safety risks, potentially leading to harmful situations.
The role of nonlinear resonance NDT in AM flaw detection
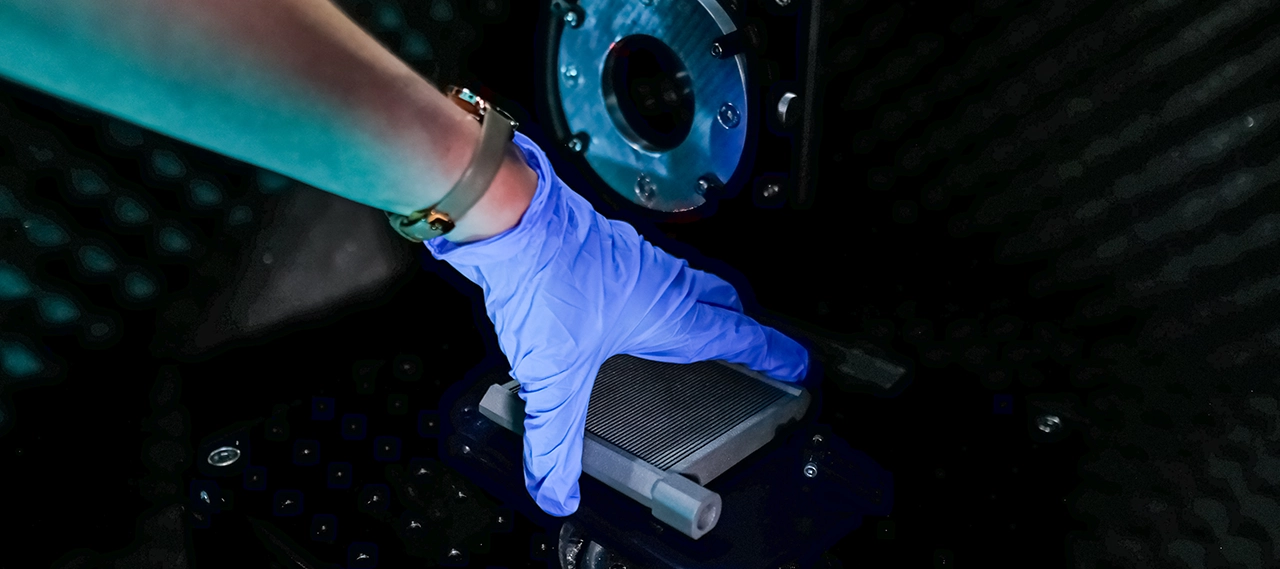
Traditional non-destructive testing (NDT) methods, such as X-ray Computed Tomography (X-CT) scans, have limitations in terms of sensitivity, speed, and cost. Nonlinear Resonance NDT (NLR NDT) offers a superior alternative for detecting the presence of flaws in additive manufactured parts. Here’s how NLR NDT addresses the challenges of traditional methods:
High Sensitivity:
Nonlinear resonance can detect smaller defects than other NDT techniques, ensuring that even the most minute flaws are identified before they can cause problems.
Rapid Testing:
Nonlinear resonance NDT can deliver results in under a minute, significantly faster than the two-hour process required for X-ray CT. This rapid testing allows for real-time quality control and immediate identification of defects.
Cost-Effective:
Nonlinear resonance NDT is more cost-effective than traditional part inspection methods. It allows for the testing of parts immediately after printing, preventing the addition of unnecessary value to defective components by proceeding onto those all-important post-processing steps. This leads to reduced cost per part and a much faster return on your investment.
Versatility:
Nonlinear resonance NDT can be used on parts with complex shapes and surface finishes, making it ideal for the varied geometries achievable through additive manufacturing. It can also be deployed at various stages of the manufacturing process, including post-processing, to ensure comprehensive quality control from start to finish.
Final thoughts
Ensuring the integrity and reliability of additive-manufactured parts is crucial, especially for safety-critical applications. By understanding the different types of flaws that can occur and the severe consequences of leaving them undetected, manufacturers can take proactive steps to improve their processes and implement effective inspection methods.
Theta Technologies’ Nonlinear Resonance NDT offers a powerful solution for identifying defects where other NDT techniques may fall short, providing the sensitivity, speed, and cost-effectiveness needed to maintain the highest quality standards in additive manufacturing.
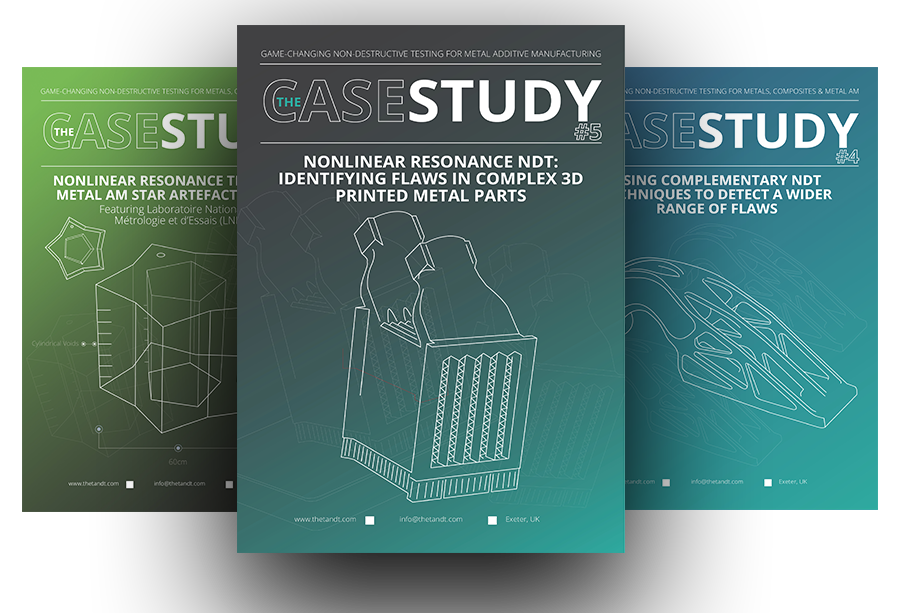
Discover the applications by
exploring our case study library.
From automotive heat exchangers to aerospace hinge brackets, see how nonlinear resonance NDT performs when put to the test for a range of additive manufactured components.

Talk to
Our Team of
Technical Specialists
Connect with our team of technical experts today and explore how RD1-TT can help revolutionise your additive manufacturing processes.
Address
Theta Technologies Limited
3 Babbage Way
Exeter Science Park
Clyst Honiton
Exeter
EX5 2FN
United Kingdom
Terms & Conditions Privacy & Cookie Policy Anti-Slavery Policy © Theta Technologies. 2026


